First things first, equipment does MATTER. In this case, it’s not about having good equipment, it’s more about having the right ones. If you have a microwave-convection combination oven like me, then the heat comes only from the top side and might burn the top of the bread before the entire thing is cooked, and then you have an existential crisis about whether to post this recipe. If that happens, cover the top with aluminium foil once it’s browned. Anyway, a key thing to remember about bread is that practice and time are the only deciding factors. No matter how well you follow the recipe, you can only achieve a “perfect” result after making it many times. But, you can make a decent loaf with this recipe because it is that SIMPLE.
Ingredients
- 350 gms of Flour (preferably Bread Flour)
- 240 gms of Water (room temp)
- 7 grams of Salt
- 7 grams of Yeast
- 18 grams of Sugar
- 35 grams of Butter
- A little bit more flour for dusting.
- Oil or butter for brushing
Procedure
- Mix the salt in the flour, and the sugar in the water until it is dissolved.
- Add the yeast to the water. Mix thoroughly and add it to the flour.
- Use a wooden spoon or a spatula to mix the dough until everything is combined. Transfer it to your work surface and start kneading with your hands. (Optional: Wash hands before starting, maybe)
- MANDATORY POINT: Dough will be slightly sticky when kneading. DO NOT ADD MORE FLOUR. If you keep on kneading, gluten will develop, and everything will come together. Trust me. Trust the measurements. Trust Science.
- Set a timer and keep kneading for 10 minutes.
- Once it’s kneaded properly, add the softened butter and squeeze it into the dough until everything is combined uniformly.
- Round up the dough and put it inside the bowl. Let it rise for 1 hour.
- Dust your surface with flour and knock the dough back onto it. Flatten it to a rectangle. Fold the top edge back and press it down. Fold the sides back and press them down. Roll the dough back to form a log shape and pinch it at the edge.
- Place inside a bread tin brushed with butter or oil. Cover with a cloth or plastic wrap and let it rise for another hour.
- Preheat your oven to 200 °C for 30 mins in the meantime.
- Place the bread tin and bake for 20-25 mins. Keep checking and make sure you don’t burn it like me 🙂
- Once the bread is done. Take it out of the tin and put it on a cooling rack or on an elevated surface so it can cool from the bottom as well. Let it cool completely before slicing; otherwise, it ruins the texture.
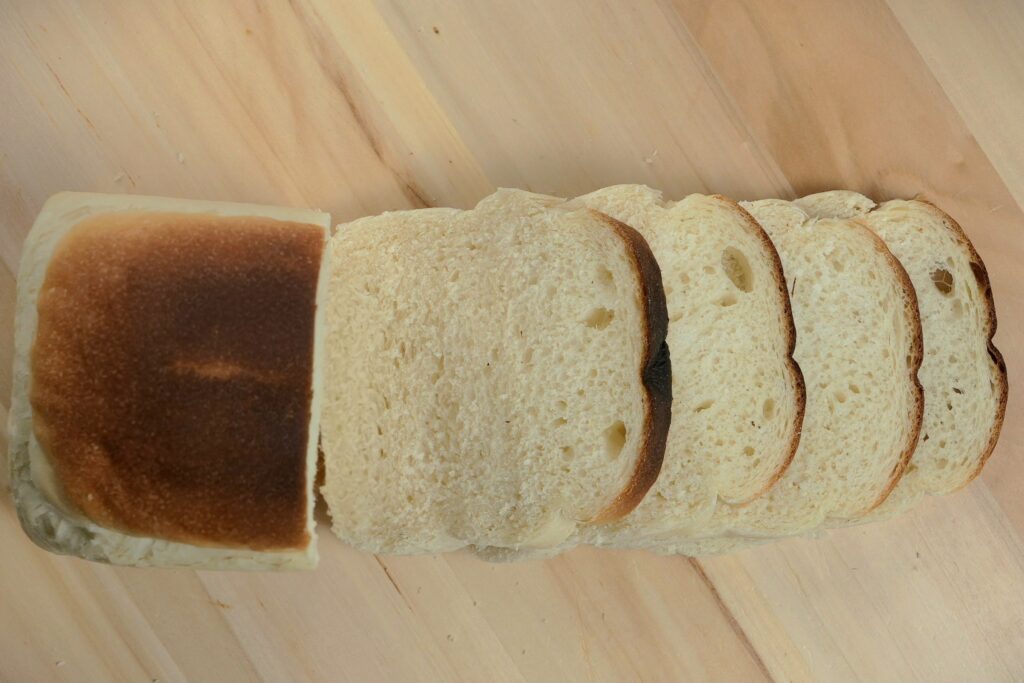
- Slice the loaf with a sharp knife (preferably serrated) to your desired thickness.